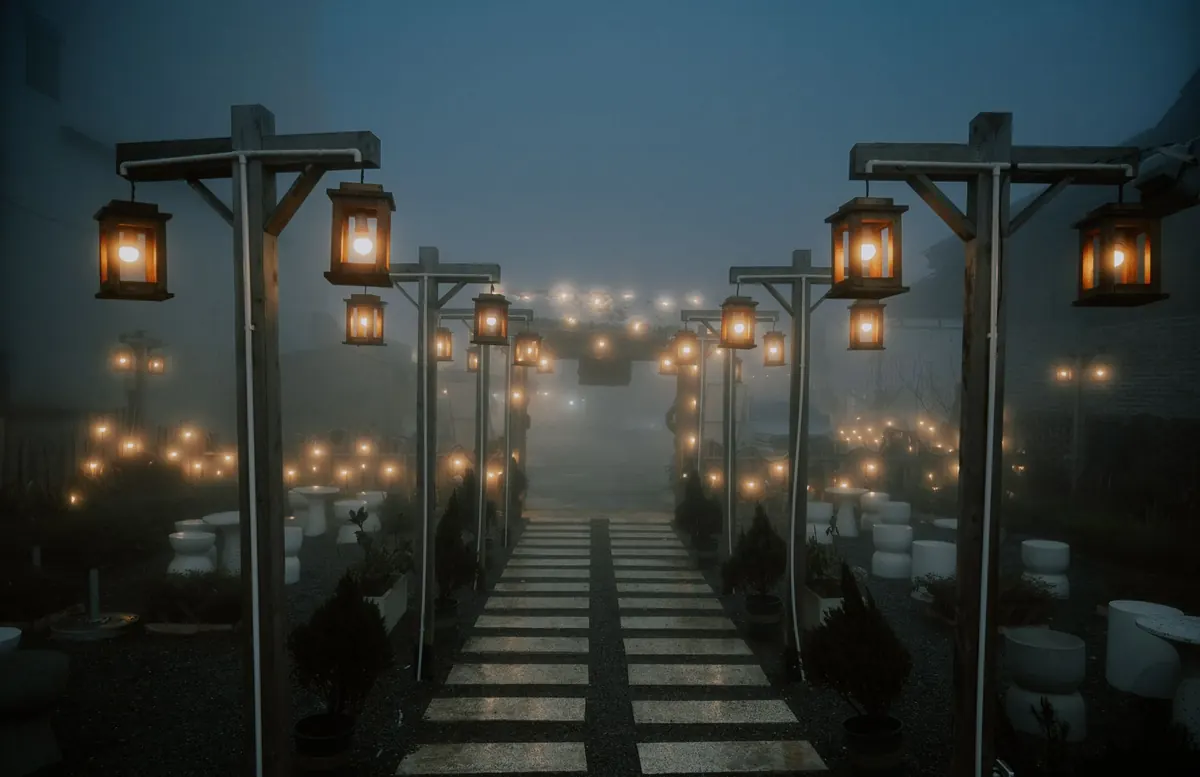
Walk to your front door after dark and count the places where you squint, guess, or step carefully. That is your real lighting plan talking, and it usually has very little to do with the plan you drew on paper. Most outdoor lighting gets installed at the two spots everyone thinks of first — the entry and the garage — while the rest of the property stays either pitch dark or lit so harshly that it feels like a parking lot.
This checklist is organized the way you actually move through a yard at night, from the sidewalk to the back fence. Work through it once, mark what you already have, and you will likely find three or four gaps worth fixing this weekend.
The Eight-Spot Checklist at a Glance
- Path and walkway edges — especially where the route turns or the surface changes.
- Steps and level changes — every riser, not just the top and bottom.
- Deck and patio perimeter — plus the seating spot you actually use after dark.
- Tree canopies and trunks — for depth, shadow, and a sense of height.
- Gates and fence lines — the approach to them, not only the gate itself.
- Side yards and utility corners — bins, hose bibs, shed doors, equipment pads.
- Driveway and vehicle zone — the walk between the car and the door.
- Security sight lines — the windows, cameras, and dark pockets you rely on.
Paths: Light the Route, Not the Destination
The most common path mistake is a single fixture at the beginning and another at the end, leaving a black gap in the middle. Path lights work best when they repeat. Spacing of roughly 6 to 8 feet gives a continuous ribbon of light; stretching to 10 or 12 feet creates distinct pools with shadow between them. Both look intentional. One light alone looks unfinished.
Place fixtures on the outer edge of the walk, angled slightly inward, and keep the light source below eye level so you see the ground instead of the bulb. A path that curves is a gift: put a light on the outside of each bend so the eye is guided around the corner. Where a path changes material — concrete to gravel, gravel to flagstone — a light at the transition makes the change read as deliberate rather than accidental.
Quick path checks
- Can you see the edge of the walk for its full length?
- Is any fixture aimed at a window or a neighbor's yard?
- Do the bulbs match in color temperature? Warm white around 2700K keeps everything cohesive.
- Are fixtures rated for wet locations and set so water drains away from the housing?
Steps and Level Changes
Steps are where people fall, so they deserve more light than the path leading to them, not less. A recessed riser light on every step is the safest approach. If that feels like too many fixtures, alternate steps on a short run, but never skip a step on a staircase that curves or has uneven treads.
Mount lights low in the riser and shield them from above so the tread glows without glare. Under-nosing strip lighting works well too, provided the strip is tucked back far enough that you cannot see the diodes from a standing position on the step below. On retaining walls and raised planting beds, wash the face of the wall with a downlight rather than lighting the top; it reads as architecture instead of decoration.
Decks, Patios, and Seating Edges
Deck lighting has one rule that solves most problems: keep the source below seated eye level, roughly 42 inches or lower, and keep it out of the sightline of anyone sitting down. Post caps, under-rail strips, and recessed deck lights all work on that principle. If a light shines directly into a chair, it will be turned off and never used.
Light the perimeter of the deck so the edge is visible, then add one soft source near the seating area rather than overhead. In a covered patio, consider a dimmable fixture on a separate switch so you can drop the level after dinner. For outdoor kitchens and dining tables, avoid placing a fixture directly above the table surface where it will reflect off plates and glass.
Trees, Shrubs, and Vertical Interest
Trees are the most underused lighting opportunity in a residential yard. A single uplight placed a foot or two from the trunk, aimed up into the canopy, adds height and depth to an otherwise flat scene. Two fixtures on opposite sides of a large tree create a fuller effect without washing out the bark.
From above, a downlight mounted high in a tree — sometimes called moonlighting — throws soft, dappled light onto a patio or lawn. It also puts the glare up where nobody looks. Aim carefully: a beam that crosses a bedroom window at 10 p.m. is a nuisance, and pointing fixtures upward without shielding spills light into the sky. Choosing shielded fixtures with a cut-off above the beam helps keep the light where it is wanted.
Gates, Side Yards, and the Corners Nobody Lights
These are the eight spots people miss most often. A gate is easy to light. The dark walk from the driveway to the gate is what actually needs attention. Light both sides of a gate if you use it at night, and add a small fixture near a keypad or latch so you are not fumbling in the dark.
Side yards tend to be narrow, so a single wall-mounted fixture on the house aimed down the length of the space usually works better than path lights crowding the fence line. Utility corners — bin storage, equipment pads, hose bibs — do not need beauty, just enough light to find what you came for. A motion-activated fixture here is usually the right answer. Aim it down so it triggers on your movement, not the neighbor's cat.
Security Zones Without the Floodlight Look
Security lighting works better as layers than as one bright blast. Cross-light an area from two directions so an intruder casts a shadow rather than hiding in one. Mount motion sensors at a height that catches movement across the field of view instead of toward it, and aim fixtures downward so the light lands on the ground and the person, not on the street.
Keep the light out of neighbors' windows and off your own bedroom glass. A photocell or timer that keeps a low level of light on all night, with motion boosting it to full brightness, is usually more useful and less annoying than a fixture that snaps on at full power. If you are adding line-voltage wiring, hire a licensed electrician and check local code requirements for outdoor circuits, weatherproof boxes, and GFCI protection.
A Five-Minute Evening Walk
Wait until it is fully dark, then walk the property the way a visitor would: from the street to the front door, around the side, out to the deck, and back to the car. Carry a small notebook or your phone and note each spot where you slow down, squint, or step uncertainly. Those notes are your shopping list.
Then check the reverse view — stand where you sit in the evening and look out. If a fixture is in your eyes from the couch or the dinner table, move it or shield it. Good outdoor lighting is mostly about what you cannot see: the bulb, the glare, the harsh patch of driveway. Get the placement right, and the yard simply looks better than it did yesterday, without anyone being able to say quite why.
Photo: Nguyen Ngoc Tien / Pexels